Crafting Comfort: The Ultimate Guide to DIY Cat Cones provides an accurate and concise tutorial for creating comfortable cat cones. This comprehensive guide offers step-by-step instructions for making DIY cat cones that are both practical and comfortable for your feline companions.
From selecting the right materials to customizing the design, this guide covers everything you need to know to create a DIY cat cone that will keep your furry friend comfortable during their recovery or grooming sessions. So, if you’re looking to provide your cat with a comfortable and stylish alternative to traditional cones, this ultimate guide has got you covered.

Credit: www.amazon.com
Why Use Cat Cones?
Crafting comfort for your furry friend is a breeze with this ultimate guide to DIY cat cones. Find out why cat cones are essential and learn how to create them with our step-by-step instructions.
Preventing Self-harm
Cats are curious creatures known for their agility and inquisitive nature. While these traits can make them wonderful companions, they can also put them at risk of self-harm. Cats love to explore their surroundings, often squeezing into tight spaces or trying to reach high shelves. In their quest for adventure, they may encounter sharp objects or get entangled in hazardous materials.
Using cat cones can be an effective way to prevent self-harm in feline friends. These specially designed cones act as a barrier, preventing cats from accessing dangerous areas and eliminating the risk of injuries caused by scratching, biting, or licking. Whether your cat has a tendency to chew on wires, lick open wounds, or scratch at stitches, a cat cone can help protect them from potential harm. It’s a simple yet essential tool to keep your furry friend safe and sound.
Post-surgery Recovery
Just like humans, cats require proper care and attention when recovering from surgery. Whether they’ve undergone a routine procedure or a more complex operation, cats need a safe and comfortable environment to heal. Cat cones play a vital role in post-surgery recovery by preventing cats from interfering with their wounds or surgical sites.
When cats undergo surgery, they may feel the urge to lick or scratch their incisions, causing potential complications such as infections or delayed healing. Common surgical procedures like spaying, neutering, or wound closures require cats to abstain from any self-grooming activities for a certain period of time. Cat cones ensure that cats cannot access their wounds, protecting them from self-inflicted harm and allowing for a faster and smoother recovery process.
Furthermore, cat cones also act as a visual reminder for pet owners, helping them monitor the healing process and identify any signs of complications. With the aid of cat cones, you can rest assured that your feline companion is on the right track to a successful recovery.
Materials Needed
In this guide, we’ll explore the wonderful world of crafting cat cones to provide comfort for your feline friends. To get started, let’s gather the materials you’ll need for this DIY project.
Fabric
One of the key materials for making your own cat cone is fabric. When choosing fabric, opt for a soft and comfortable material that your cat won’t mind wearing. Consider using cotton or flannel fabric as they are gentle on your cat’s delicate skin.
Scissors
Scissors are an essential tool for any DIY project, and making cat cones is no exception. Make sure to have a sharp pair of scissors on hand to cut the fabric into the desired shape. This will help you achieve clean and precise cuts, ensuring a neat finished product.
Elastic Band
An elastic band is crucial for securing the cat cone in place around your furry friend’s neck. Look for an elastic band that is comfortable yet snug enough to hold the cone in position without causing discomfort for your cat. Ensure it is adjustable so that you can easily customize the fit.
Step-by-step Guide
Here is a detailed step-by-step guide on how to craft your very own DIY cat cone. By following these simple instructions, you’ll be able to create a cone that provides comfort and style for your furry feline friend.
Measuring Your Cat
In order to ensure a proper fit, it’s important to accurately measure your cat before getting started. Here’s how you can do it:
- Place a soft tape measure around your cat’s neck, just below their ears.
- Make sure the tape measure is snug but not too tight.
- Note down the measurement in inches or centimeters.
Cutting The Fabric
Once you have your cat’s measurements, it’s time to cut the fabric for the cone. Follow these steps:
- Select a soft and durable fabric that will be comfortable against your cat’s skin.
- Measure and mark the fabric using the measurements you took earlier, ensuring the width is wide enough to wrap around your cat’s neck.
- Carefully cut out the fabric using fabric scissors, making sure to follow your markings precisely.
Creating The Cone Shape
Now that you have the fabric cut, it’s time to create the cone shape. Here’s how you can do it:
- Hold the fabric in one hand and bring the edges together to form a conical shape.
- Overlap the edges slightly, leaving a gap at the top for your cat’s head.
- Secure the fabric together using fabric glue or sewing pins.
- Allow the glue to dry or carefully sew the edges together using a needle and thread.
And there you have it – a step-by-step guide on how to create your very own DIY cat cone. Remember to take accurate measurements, choose soft fabric, and carefully craft the cone shape to ensure optimal comfort for your furry friend. Enjoy the satisfaction of customizing a cat cone that both you and your cat will love!

Credit: lincolnshirefenncraftsblog.com
Personalization Options
Discover a wide range of personalization options in our ultimate guide to DIY cat cones. Craft comfort for your furry friends with unique and customizable designs.
Choosing The Fabric Design
When it comes to personalizing your DIY cat cone, the fabric design is a key element that adds a touch of uniqueness and style. There are several factors to consider when choosing the perfect fabric design for your furry friend’s cone. First, think about the color scheme that matches your cat’s personality and your home decor. Bold and vibrant colors can make a statement, while pastel shades can create a serene and calming look. Next, consider the pattern of the fabric. You can opt for fun and whimsical patterns like polka dots or stripes to add a playful touch to the cone. Alternatively, floral or geometric patterns can give it an elegant and sophisticated look. If you prefer a more personalized touch, you can even consider custom-printed fabric with your cat’s name or picture on it. This will make the cone truly one-of-a-kind and reflect your cat’s unique identity. Remember to choose a fabric that is durable and easy to clean. Cats can be messy creatures, so it’s important to select a fabric that can withstand any spills or accidents.Adding Embellishments
To take personalization to the next level, you can add embellishments to your DIY cat cone. Embellishments not only enhance the overall look but also add a touch of glamour and individuality. One simple way to add embellishments is to use ribbons or trims. You can attach them around the edges of the cone or create a bowtie or a flower to give it an extra flair. Experiment with different colors and textures to find the perfect combination. If you’re feeling crafty, consider adding small decorative elements such as pompoms, sequins, or buttons. These small details can make a big difference and create a cone that stands out from the crowd. Moreover, another option is to attach small charms or tags to the cone. These can be personalized with your cat’s name or any other design that holds meaning for you and your feline companion. Remember, while embellishments can add to the aesthetic appeal of the cone, make sure they are securely attached and do not pose a risk to your cat’s safety. In conclusion, personalizing your DIY cat cone with fabric design choices and embellishments allows you to create a cone that is not only functional but also a reflection of your cat’s unique personality and your own creative style. Whether you choose bold colors or custom-printed fabric, adding bows or sequins, the options are endless. Get creative and have fun crafting comfort for your beloved furry friend!Tips And Tricks
When it comes to crafting comfort for your furry feline friend, DIY cat cones can be a practical and cost-effective solution for various situations. However, creating these cat cones requires a certain level of expertise and finesse. In this section, we will share some valuable tips and tricks to help you navigate the process smoothly. From introducing the cone gradually to regular cleaning and maintenance, these pointers will ensure your DIY cat cones are successful and provide the utmost comfort for your beloved pet.
Introducing The Cone Gradually
Introducing a cat cone abruptly can cause distress and confusion for your pet. To avoid this, it’s essential to ease them into wearing it gradually. Start by familiarizing your kitty with the cone in a calm and controlled environment. Allow them to sniff and investigate it at their own pace. Letting them see that the cone is harmless will help in the acclimatization process. Once they are comfortable with the cone’s presence, you can proceed to the next step.
Next, try attaching the cone lightly using a soft fabric or elastic band around their neck, ensuring it is not too tight. Gradually increase the duration of wear over several short sessions, monitoring their behavior closely. By gradually introducing the cone, you’ll help your cat associate it with positive experiences, reducing their anxiety and resistance.
Regular Cleaning And Maintenance
Just like any other accessory, cat cones require regular cleaning and maintenance to ensure your furry friend’s comfort and health. Here are some simple yet effective tips to keep your DIY cat cone in optimal condition.
- Use a mild detergent and lukewarm water to gently clean the cone. Avoid using harsh chemicals or abrasive substances, as they may irritate your cat’s delicate skin.
- Dry the cone thoroughly after cleaning to prevent moisture buildup and the growth of bacteria or mold.
- Regularly check the fit of the cone and adjust it as needed. It’s essential to ensure the cone is snug but not too tight, allowing your cat to move comfortably while still preventing them from reaching the affected area.
- Inspect the cone for any signs of wear and tear, such as frayed edges or broken fasteners. Replace the cone if it becomes damaged to maintain its effectiveness.
- If your cat has a long-haired coat, consider periodically trimming the fur around the neck area to avoid tangling with the cone.
In conclusion, introducing the cone gradually and performing regular cleaning and maintenance are crucial aspects of crafting comfortable DIY cat cones. Following these tips will help ensure your cat adapts to wearing the cone without distress and that it remains in good condition. By giving the utmost care to your feline friend, you can provide them with the comfort they need during the healing process or any other situation that calls for a cat cone.
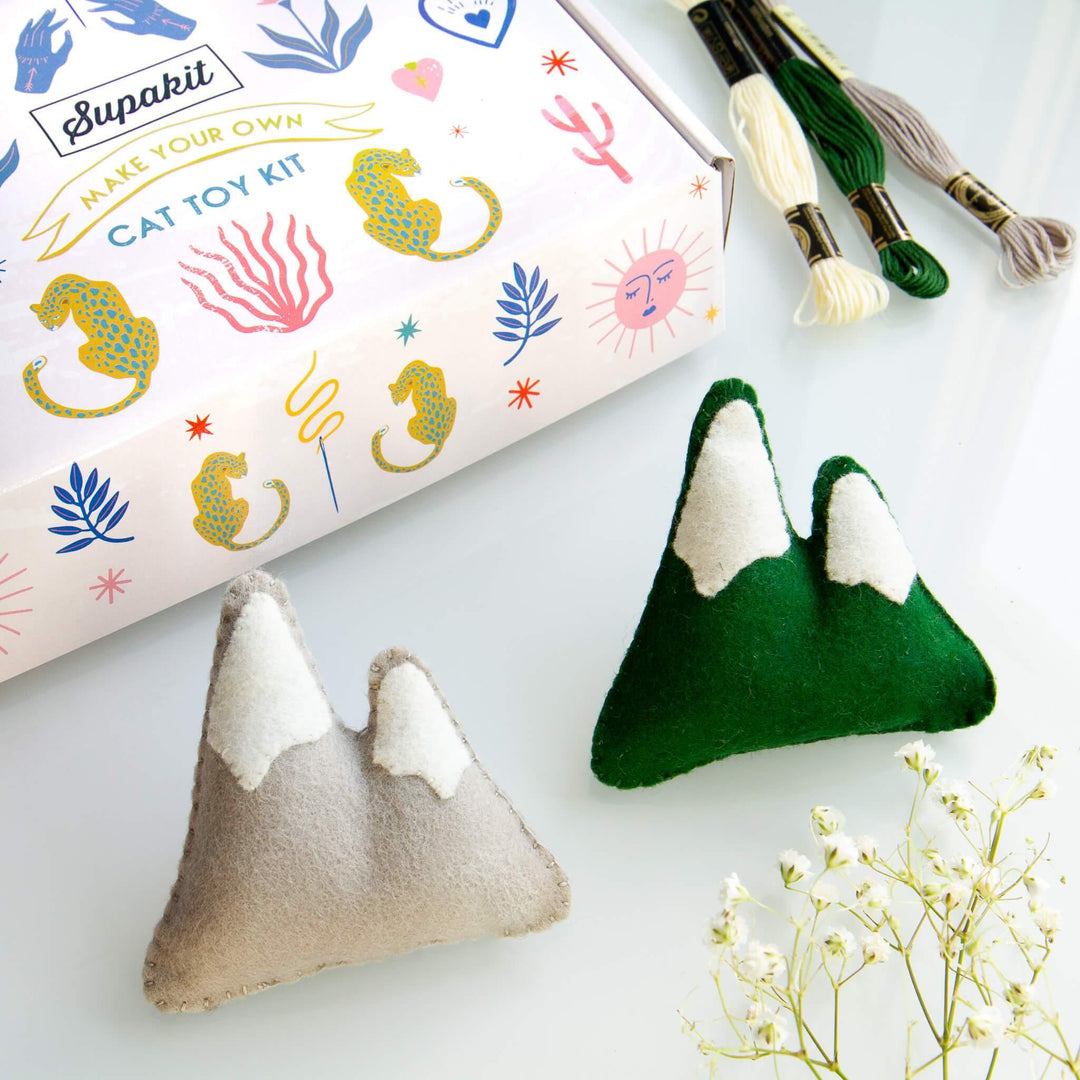
Credit: supakit.co
Frequently Asked Questions Of Crafting Comfort: The Ultimate Guide To Diy Cat Cones
How Can I Make A Cone For My Cat?
To make a cone for your cat, you can cut a circle out of cardboard, then cut a line from the edge to the center. Overlap the edges to form a cone shape, secure with tape, and trim to fit your cat’s neck.
Why Do Cats Wear Cones?
Cats wear cones to prevent them from licking or scratching wounds or surgical incisions, allowing them to heal properly. The cones discourage their natural instinct to groom affected areas.
What Are Diy Cat Cones?
DIY cat cones are homemade devices designed to prevent cats from licking or scratching wounds or surgical incisions. They are cost-effective alternatives to traditional, store-bought cones and can be customized to fit your cat’s needs and comfort.
How Do You Make A Diy Cat Cone?
To make a DIY cat cone, you’ll need some basic materials like an old t-shirt, cardboard, and scissors. Start by cutting out a circular shape from the cardboard and then measuring and cutting a hole in the center for your cat’s head.
Next, cut the t-shirt into strips and attach them to the outer edge of the cardboard, creating a cone shape. Adjust and secure the cone to fit your cat comfortably.
Conclusion
Crafting comfort for your feline friend has never been easier with this ultimate guide to DIY cat cones. These step-by-step instructions will help you create personalized cones that provide comfort and support during recovery or grooming. By incorporating your cat’s preferences and needs, you can ensure a stress-free experience.
Whether you’re a seasoned crafter or a beginner, this guide will help you create the perfect cat cone with ease. Elevate your pet care game and show your furry companion the love they deserve. Happy crafting!